

Step-by-Step Guide to Installing Deck Post Caps with Ease
Installing deck post caps doesn’t have to be complicated or costly. Many homeowners struggle with finding stylish, durable options that are easy to put in place. This guide breaks down the process step-by-step using Xtreme eDeals’ affordable deck accessories, so you can upgrade your deck with confidence and minimal hassle. Discover how simple DIY home improvement can be with the right tools and clear instructions. Learn more here.
Preparing for Installation
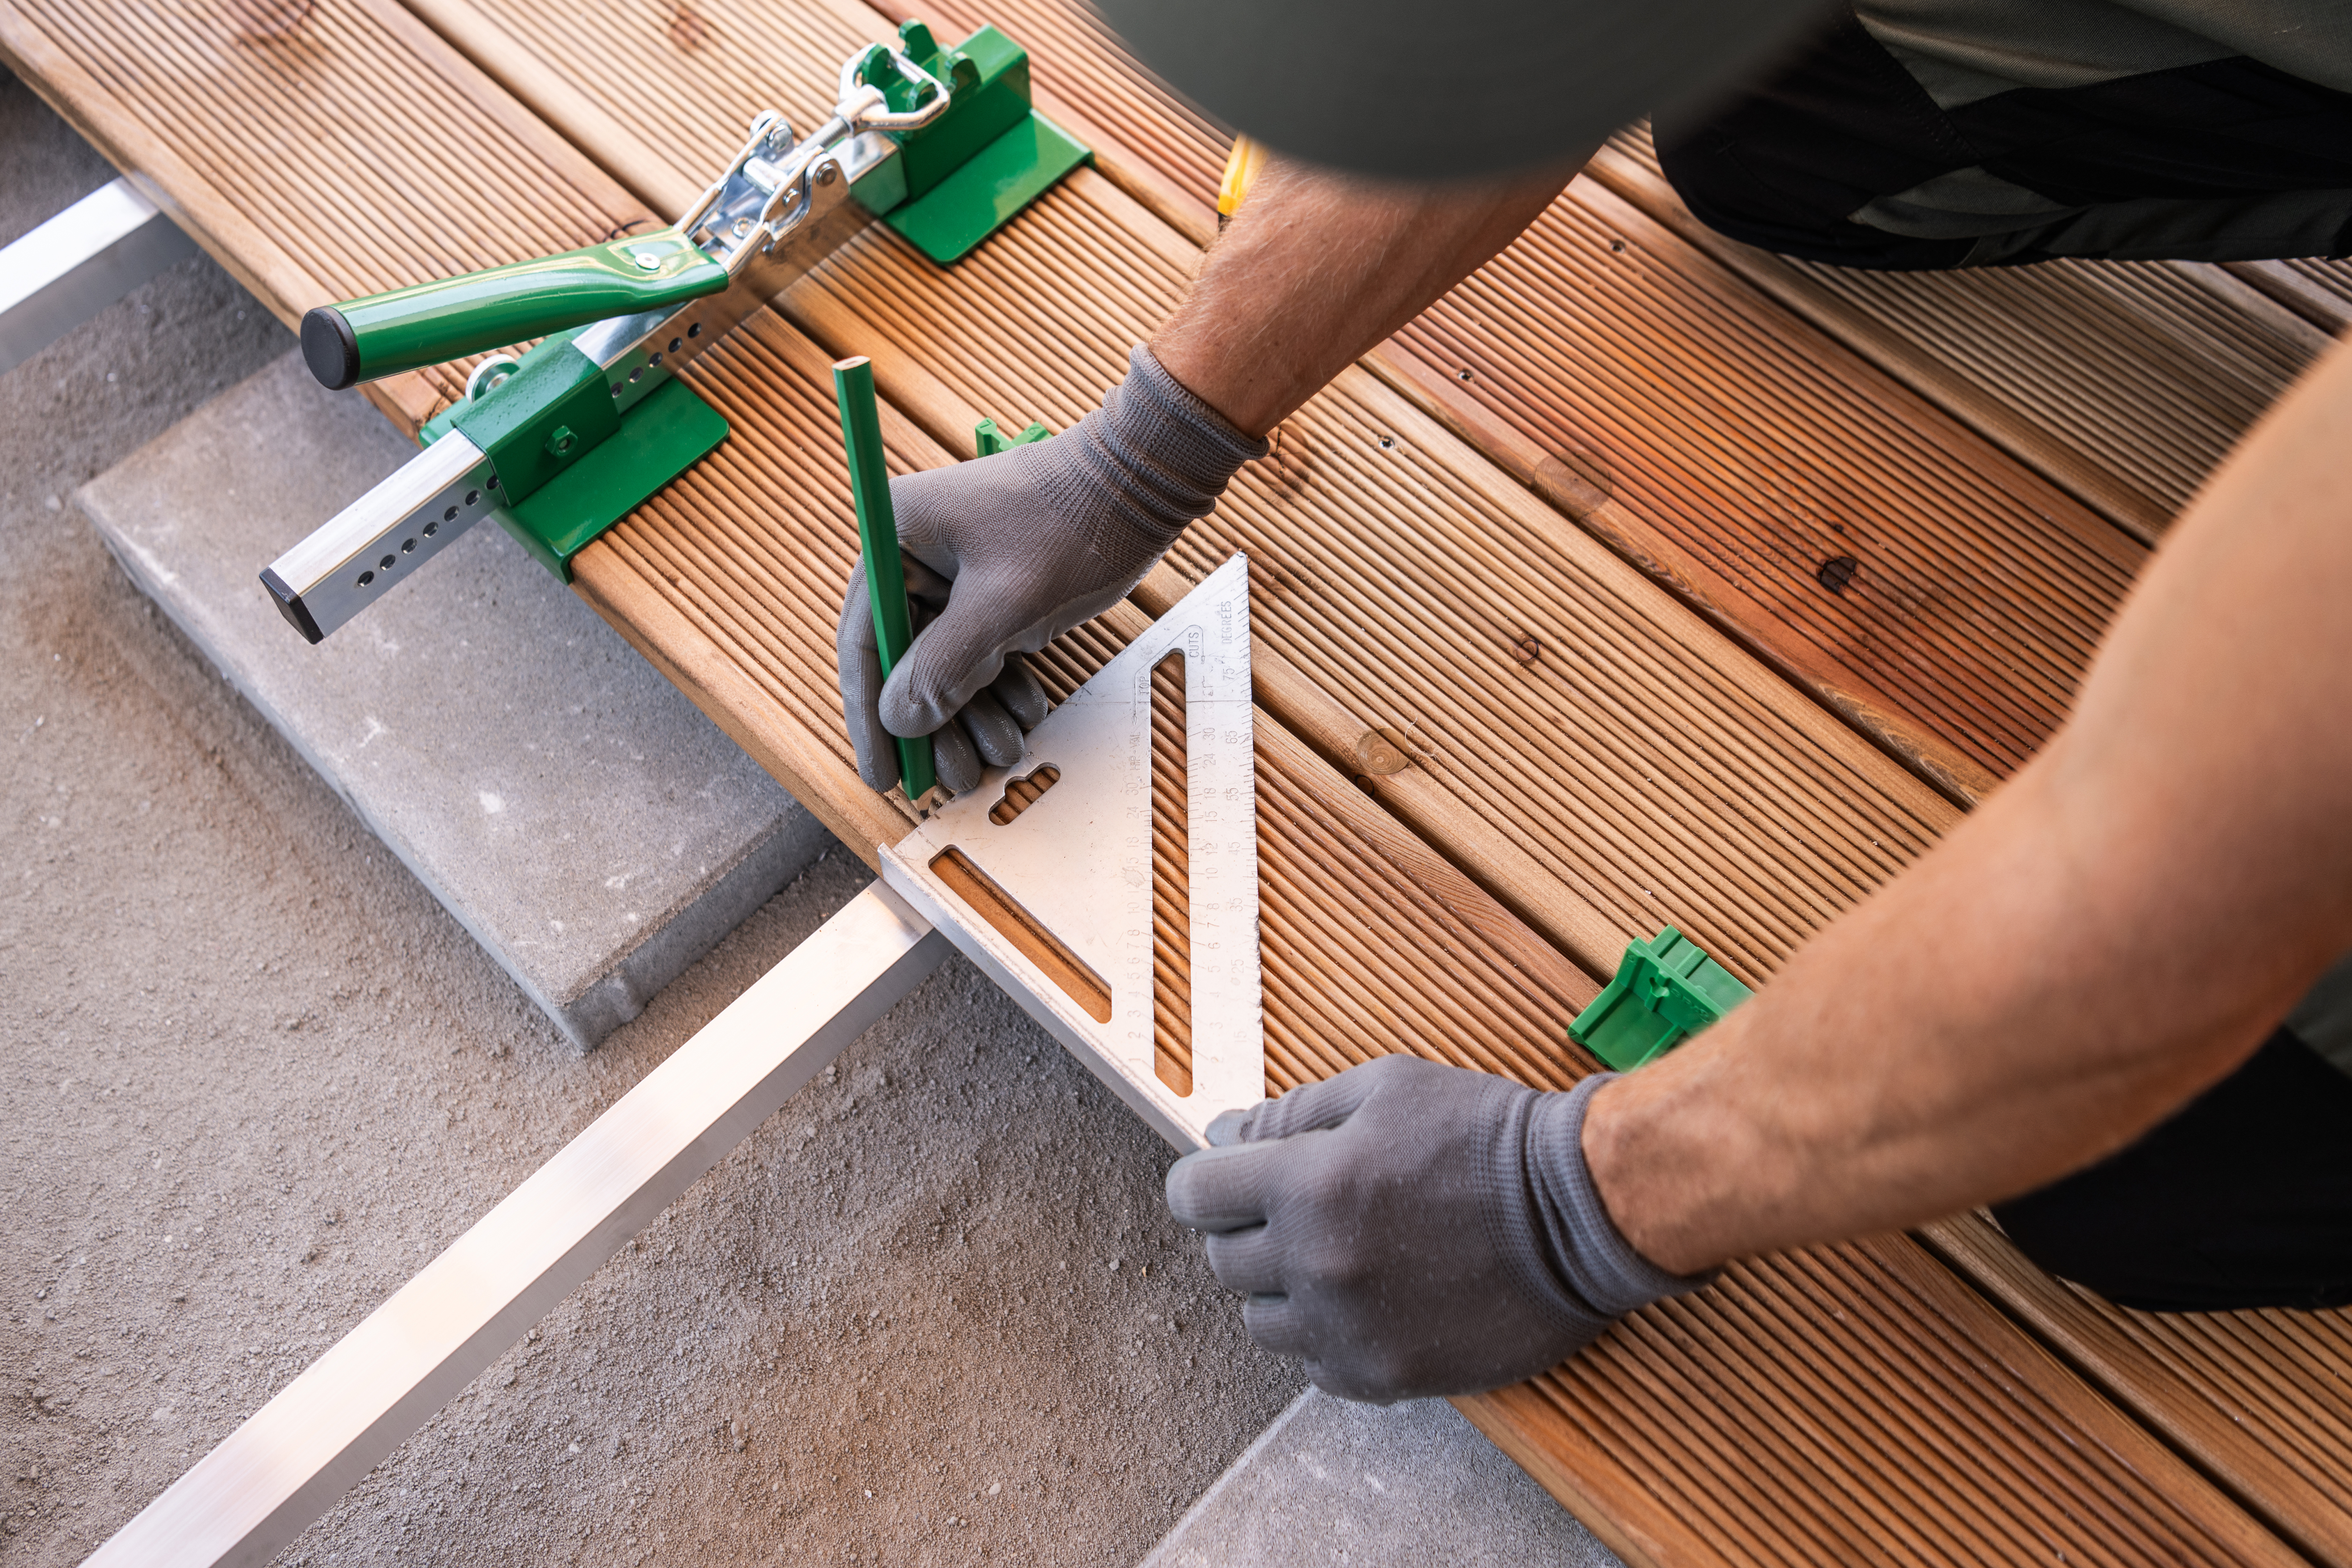
Before you dive into the installation, it’s crucial to set the stage for a smooth process. Having everything ready will save you time and frustration.
Gather Your Tools and Materials
First things first, you need the right tools on hand. A well-prepared DIY enthusiast is a successful one. Start with a tape measure, pencil, and a drill with appropriate bits. You’ll also need a level and, of course, your deck post caps from Xtreme eDeals. These caps are designed for easy installation, making your job much simpler.
Tape measure for accurate measurements
Drill with a screwdriver bit for securing the caps
Level to ensure everything sits just right
Pencil to mark your spots
Screws included with your caps
Having these tools ready will make the installation a breeze. Most people think you need a toolbox full of gadgets, but you’d be surprised how few tools you actually need.
Measure and Mark Your Posts
Now that you’re equipped, measuring is your next step. Accurate measurements are key to a perfect fit. Using your tape measure, determine the dimensions of each post. Each post cap style might differ slightly, so check the specifications provided by Xtreme eDeals.
Measure twice: Double-check your numbers to avoid mistakes.
Mark precisely: Use your pencil to make clear, visible marks.
Once you have your marks, you’ll know exactly where each cap will sit. This preparation not only helps in a seamless installation but also ensures you achieve that polished, professional look you desire.
Step-by-Step Installation Process

With preparation behind you, it’s time to turn your attention to the main event. Following these steps will lead you to a satisfying finish.
Secure the Post Cap Base
The first step in the actual installation is securing the base of the post cap. This part is crucial for stability and durability. Position the base over your marked spot. Hold it steady and ensure it’s centered.
Drill pilot holes: This prevents the wood from splitting.
Screw the base: Use the screws provided, and tighten them securely.
The majority of homeowners believe this might take hours, but it’s actually a quick task. Once the base is in place, you’ve laid a solid foundation for the rest of the cap.
Attach the Top Cap
Now, let’s move on to attaching the top portion of the cap. This is where your deck post cap really takes shape. Align the top cap with the secured base.
Align carefully: Check with your level to ensure alignment.
Snap or screw: Depending on the model, snap the top in place or use screws.
Your post cap is now securely attached. This step is where you see the transformation of your deck begin. It’s amazing how something so simple can make such a big impact on your outdoor space.
Finishing Touches and Maintenance
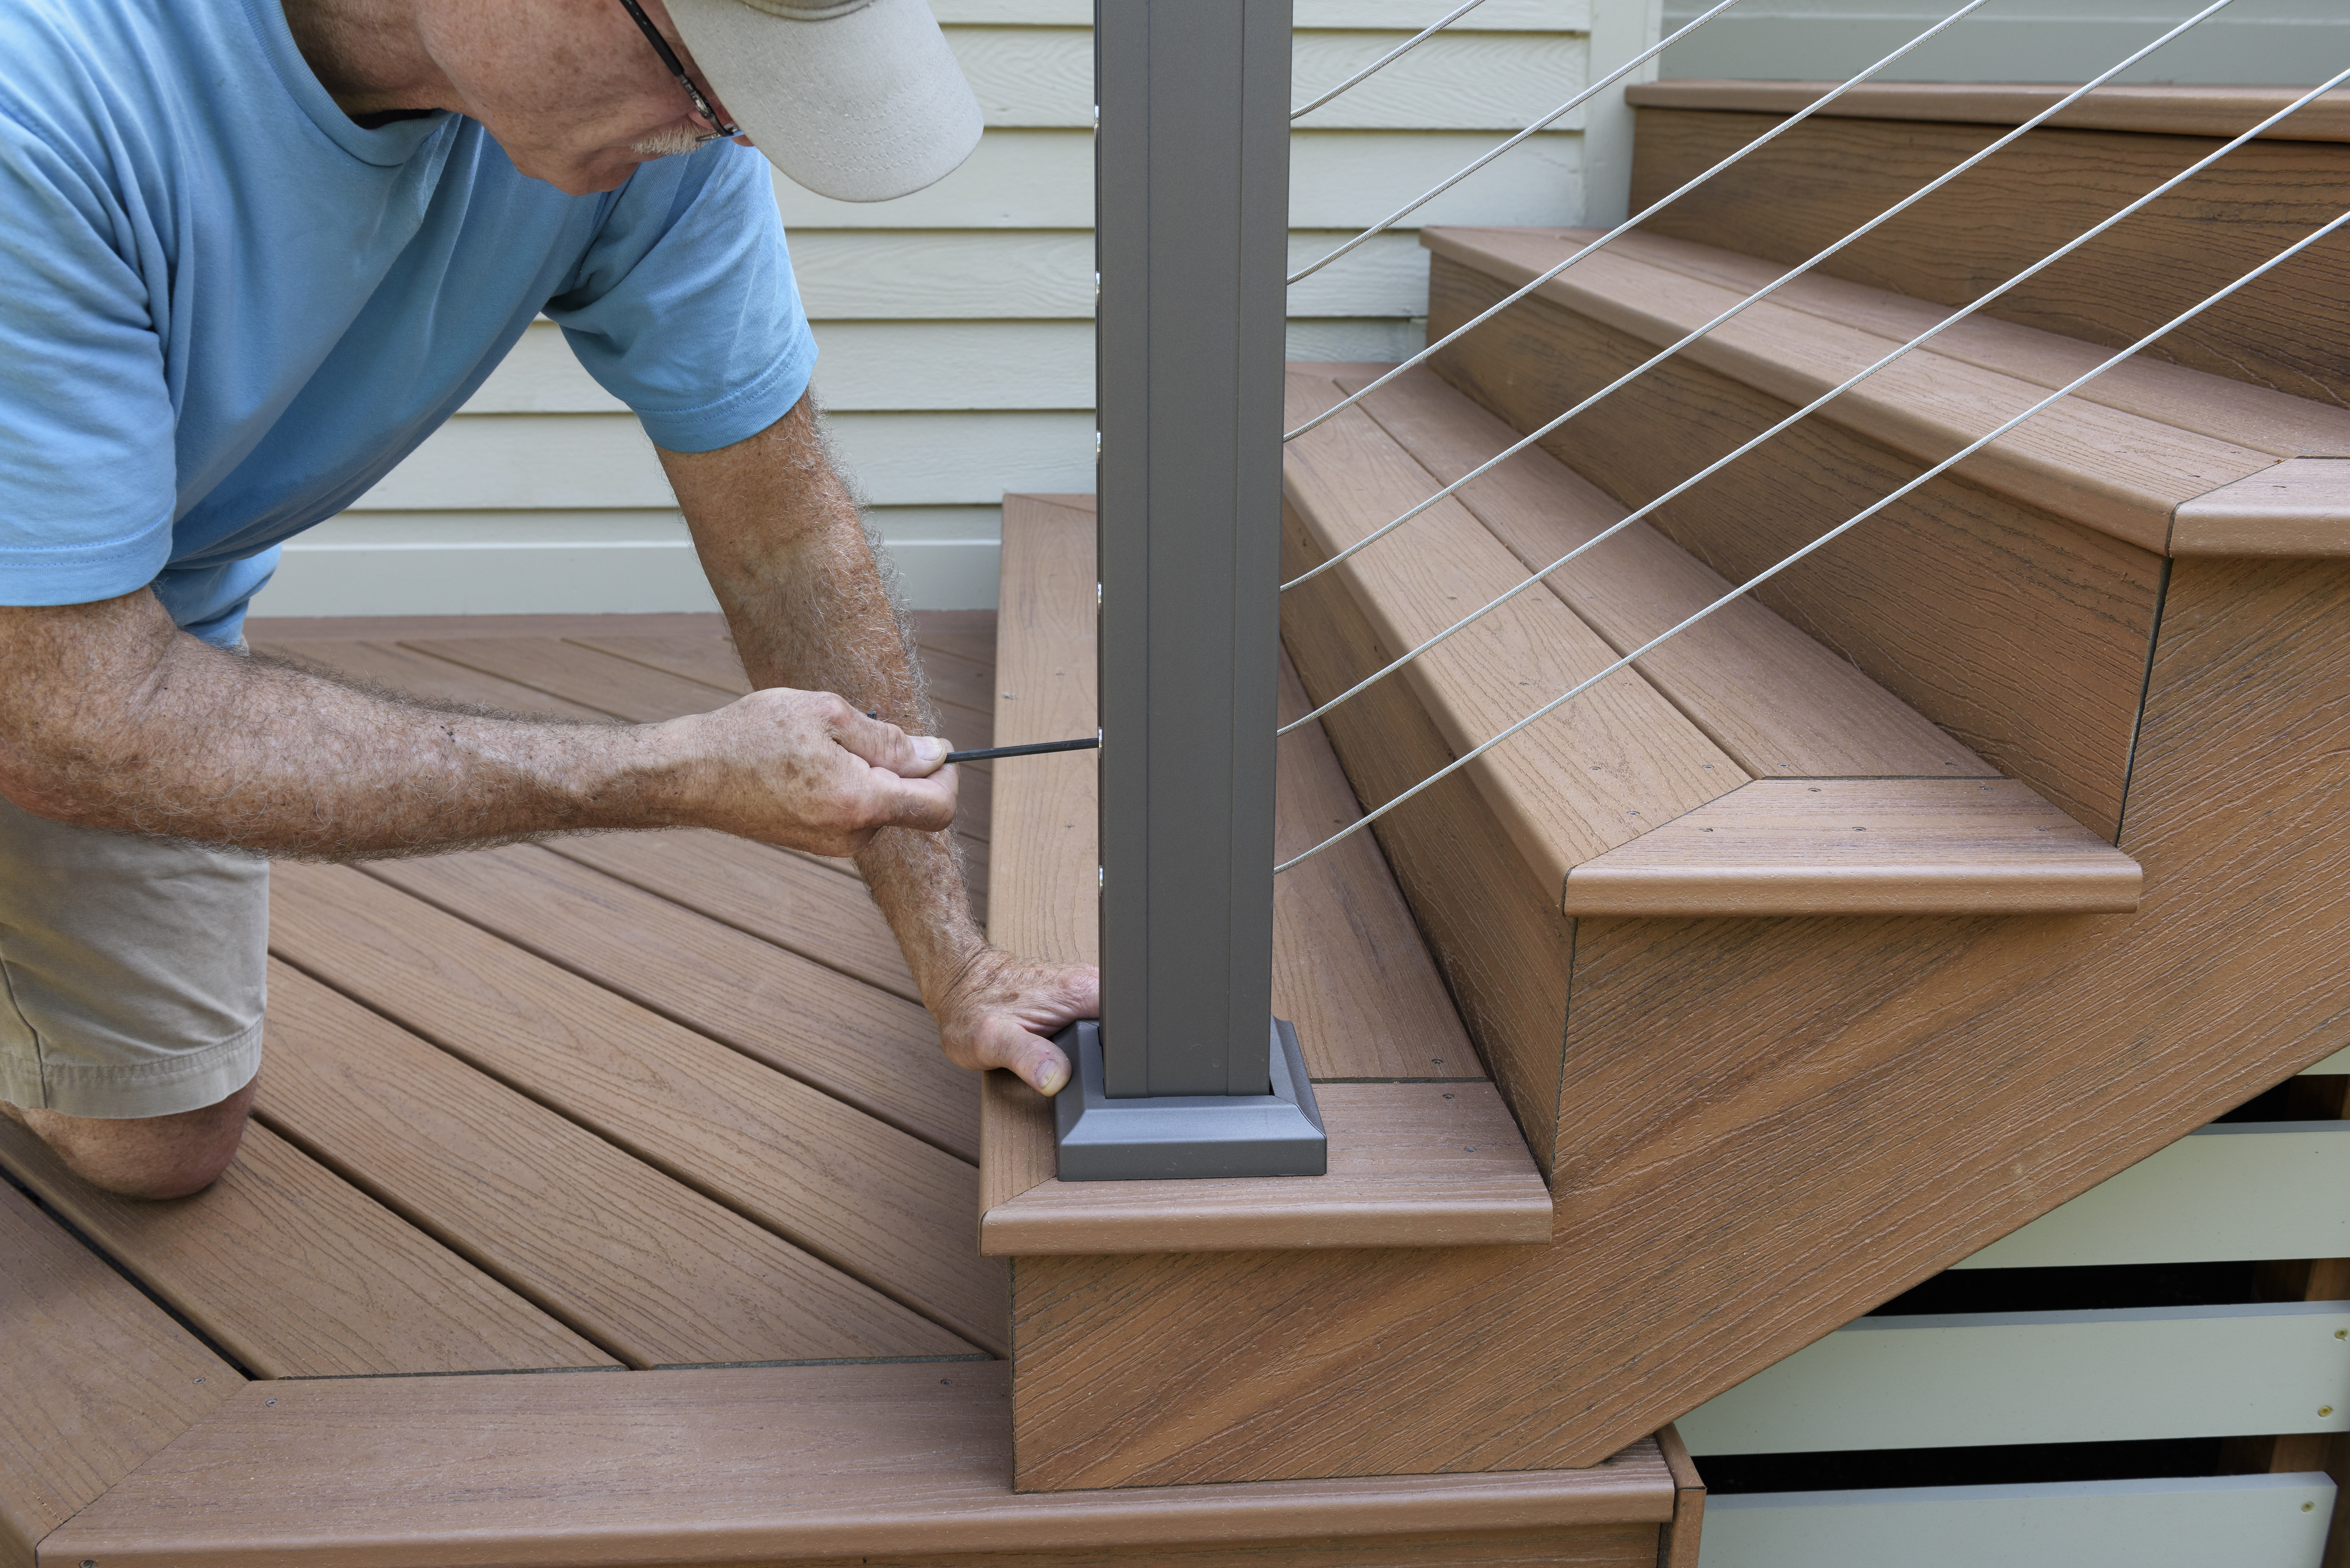
With your deck caps securely in place, we’ll look at some finishing touches and tips for keeping them in top shape.
Ensure Proper Alignment
Now that your caps are installed, take a moment to ensure everything lines up. Small adjustments can make a big difference.
Check alignment: Use your level again for a perfect finish.
Adjust if necessary: Slight movements can correct any minor misalignment.
This last review step ensures your deck looks as good as it should. Many overlook this final touch, but it’s what separates good from great.
Regular Cleaning and Care 🛠️
To keep your deck post caps looking their best, regular maintenance is key. Dirt and debris can accumulate over time, dulling their shine.
Wipe clean: A damp cloth can remove most dirt.
Inspect regularly: Look for any signs of wear or damage.
Regular upkeep will help maintain the fresh look of your deck. And remember, the longer you wait, the more work it can become. Most people think caps are maintenance-free, but a little care goes a long way.
By following these steps, your deck will not only look incredible but will also stand the test of time with Xtreme eDeals’ quality accessories. Read more on proper maintenance here.


